I have been too long away from my sewing machine. I work a lot of evenings and weekends, especially during the summer, and the rest of the time has been filled with summery activities. I do love spending time in the sun with family and friends, but I really wanted to get some time in at my sewing machine.
I needed something quick and easy to sew in just a few free hours. I searched through my downloaded pattern file and found this Zippy Pouch tutorial from Sew Mama Sew. It is simply, but it had some wonky patchwork in the design, which added interest.
I whipped up two of these pouches in an afternoon. Very satisfying quick sewing.
This one was made from some leftover neutrals, a fat quarter that my husband bought for me, and some free fabric that I got accidentally when fabric.com messed up my order once. It was a “use up the extras” type of project, but I like the way the neutral prints play off one another.
The tutorial calls for the zipper to be inserted in a very basic way. While this was easier to sew, it leaves this undesirable puckering at the end.
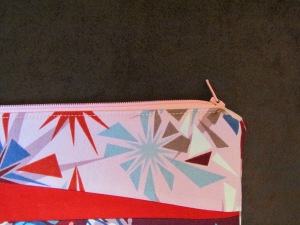
For the second pouch, I added fabric tabs at the ends of the zippers to alleviate some of the puckering. This helps with the aesthetic appearance of the pouch and gives a cleaner finish. However, it shortens the length of the zipper, making the pouch less functional as you have less room in the opening. I wish I wasn’t so picky – but I just couldn’t live with a puckering zipper.
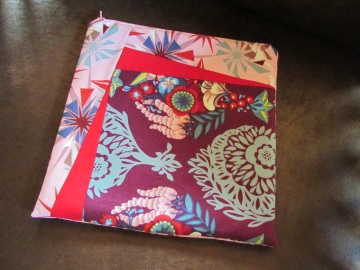
This is the second finished pouch. Brighter colors! This one will be a gift for someone soon.
I’m going to make another one of these, but with slightly adjusted zipper tabs. I also plan to use that square block on the front as an opportunity to showcase some of the hundreds of hexies I basted during the cold winter months. This pouch pattern is so simple, but that front patchwork really does offer a neat opportunity to showcase something cool: embroidery, applique, a stamp or screenprint – lots of possiblities!


